Creating a Command Line macOS Project
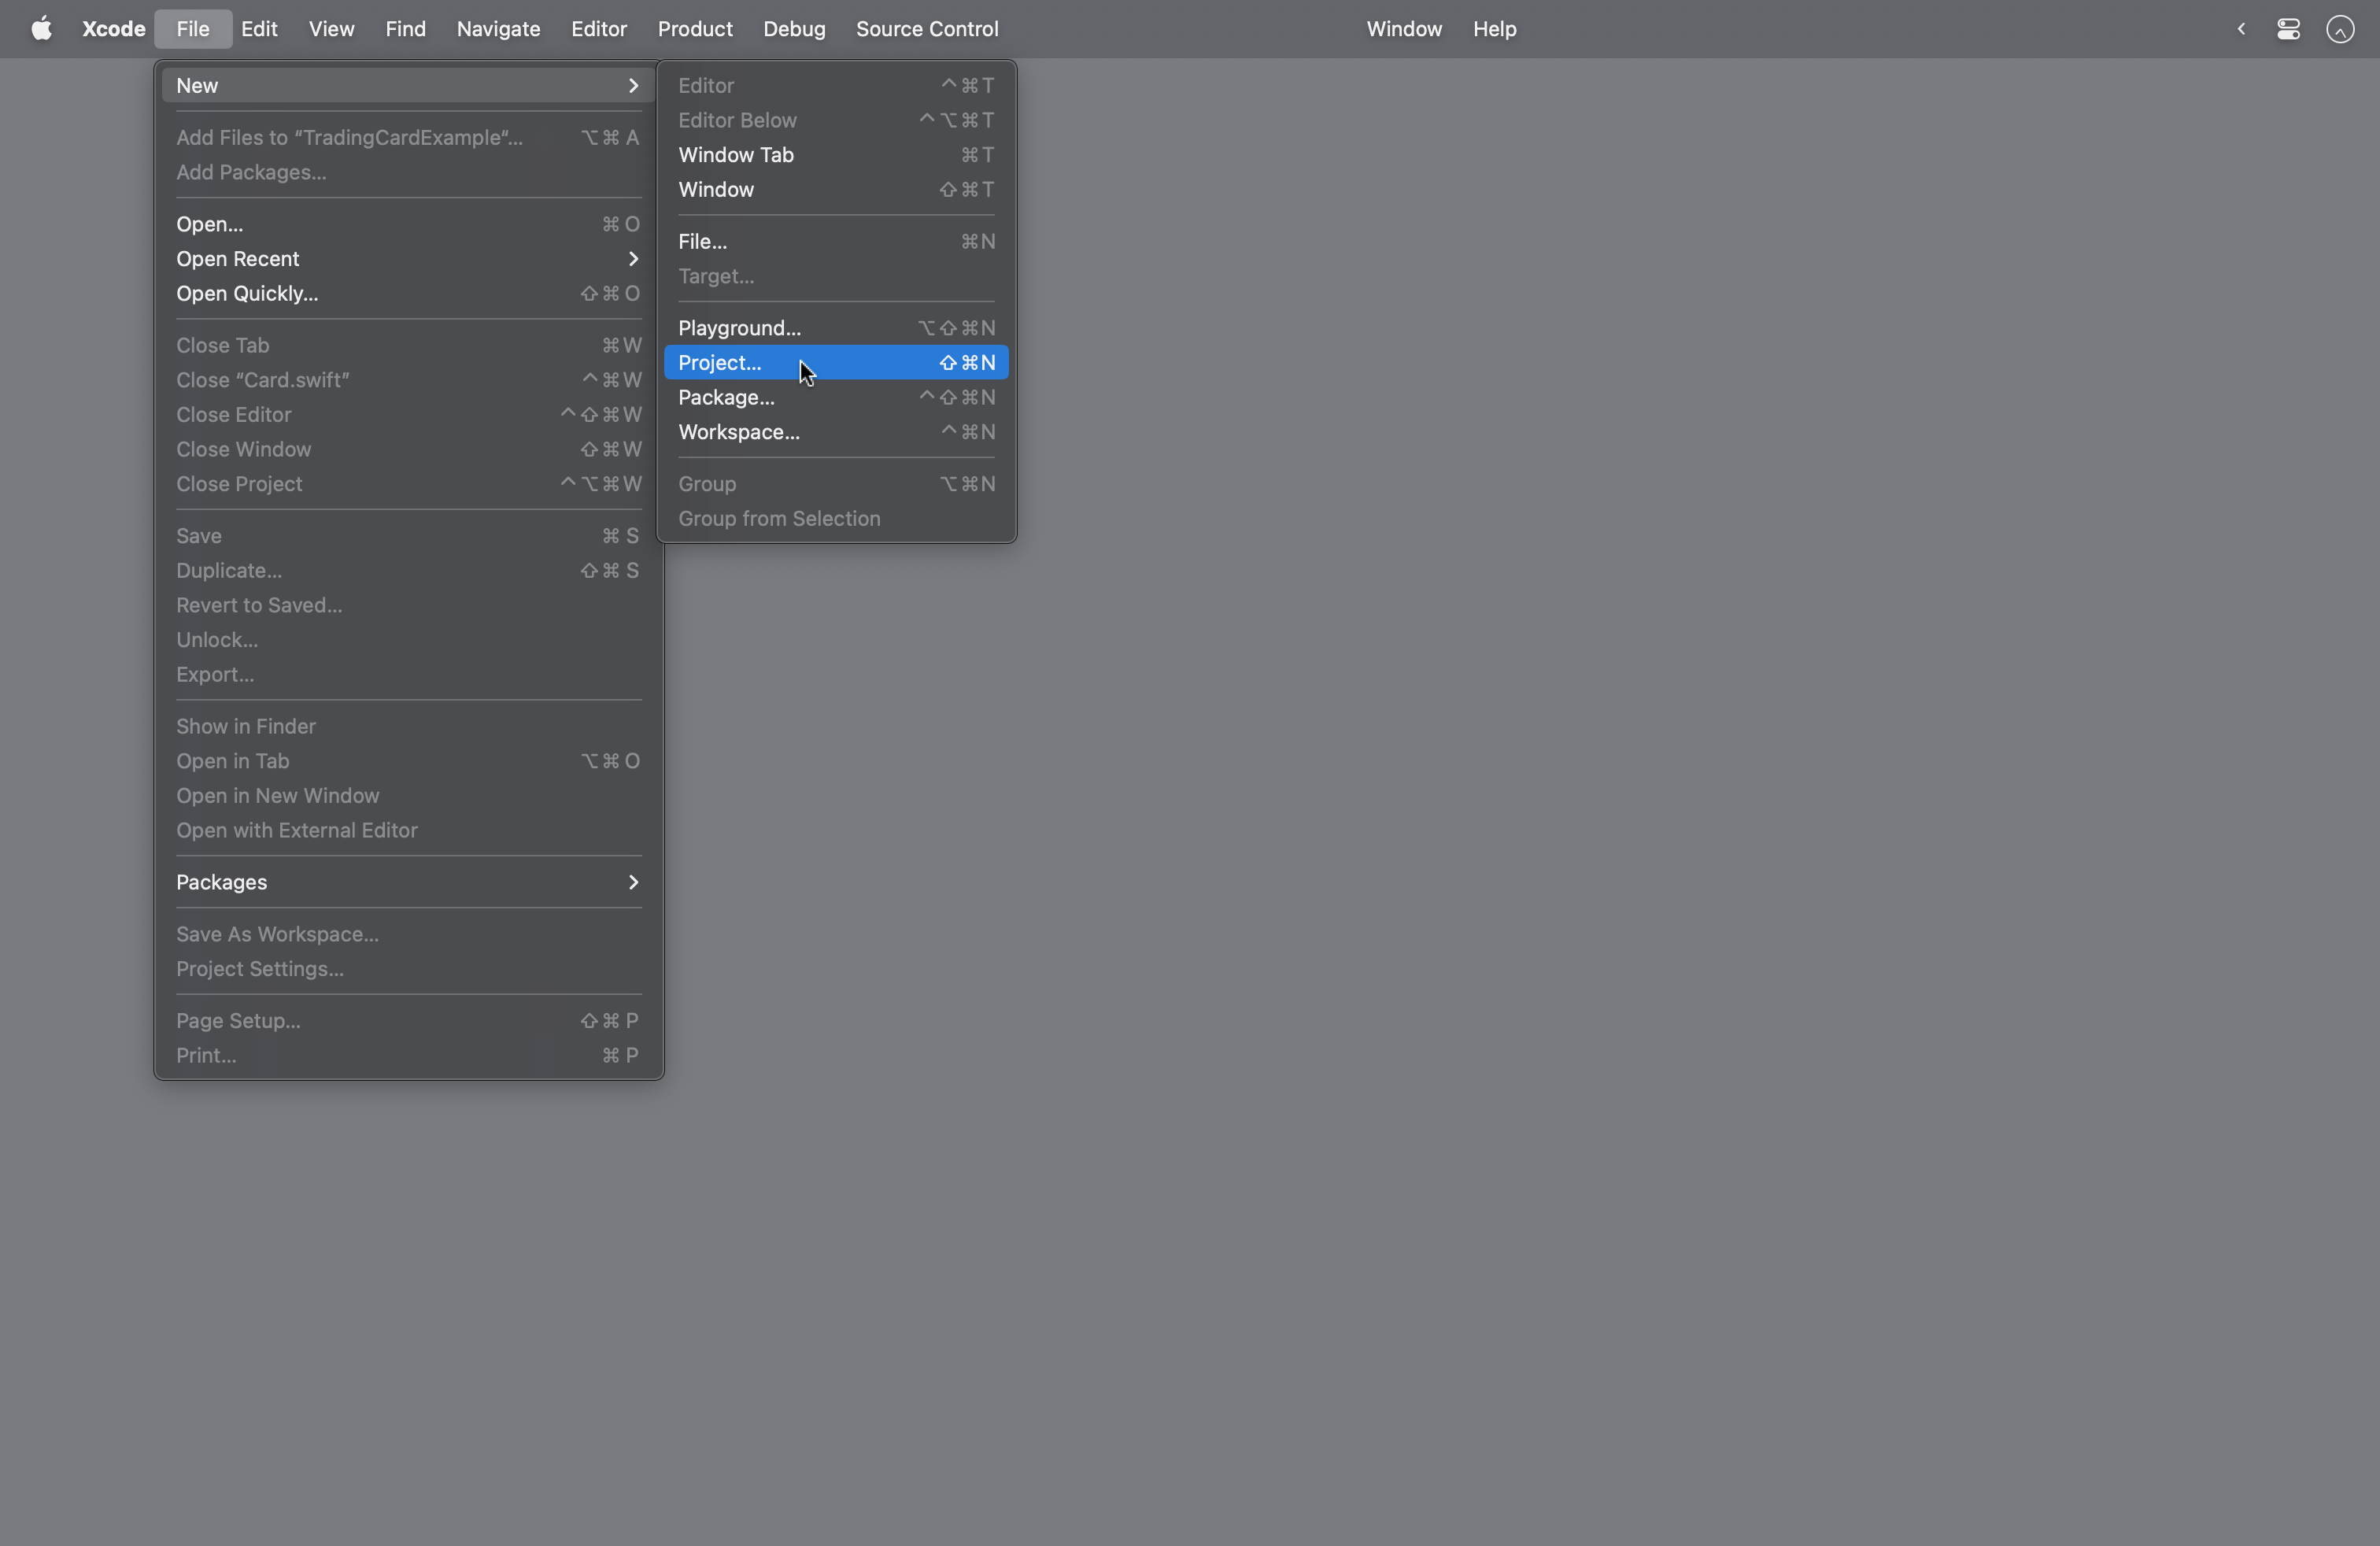
From the menubar in Xcode, select File > New > Project...
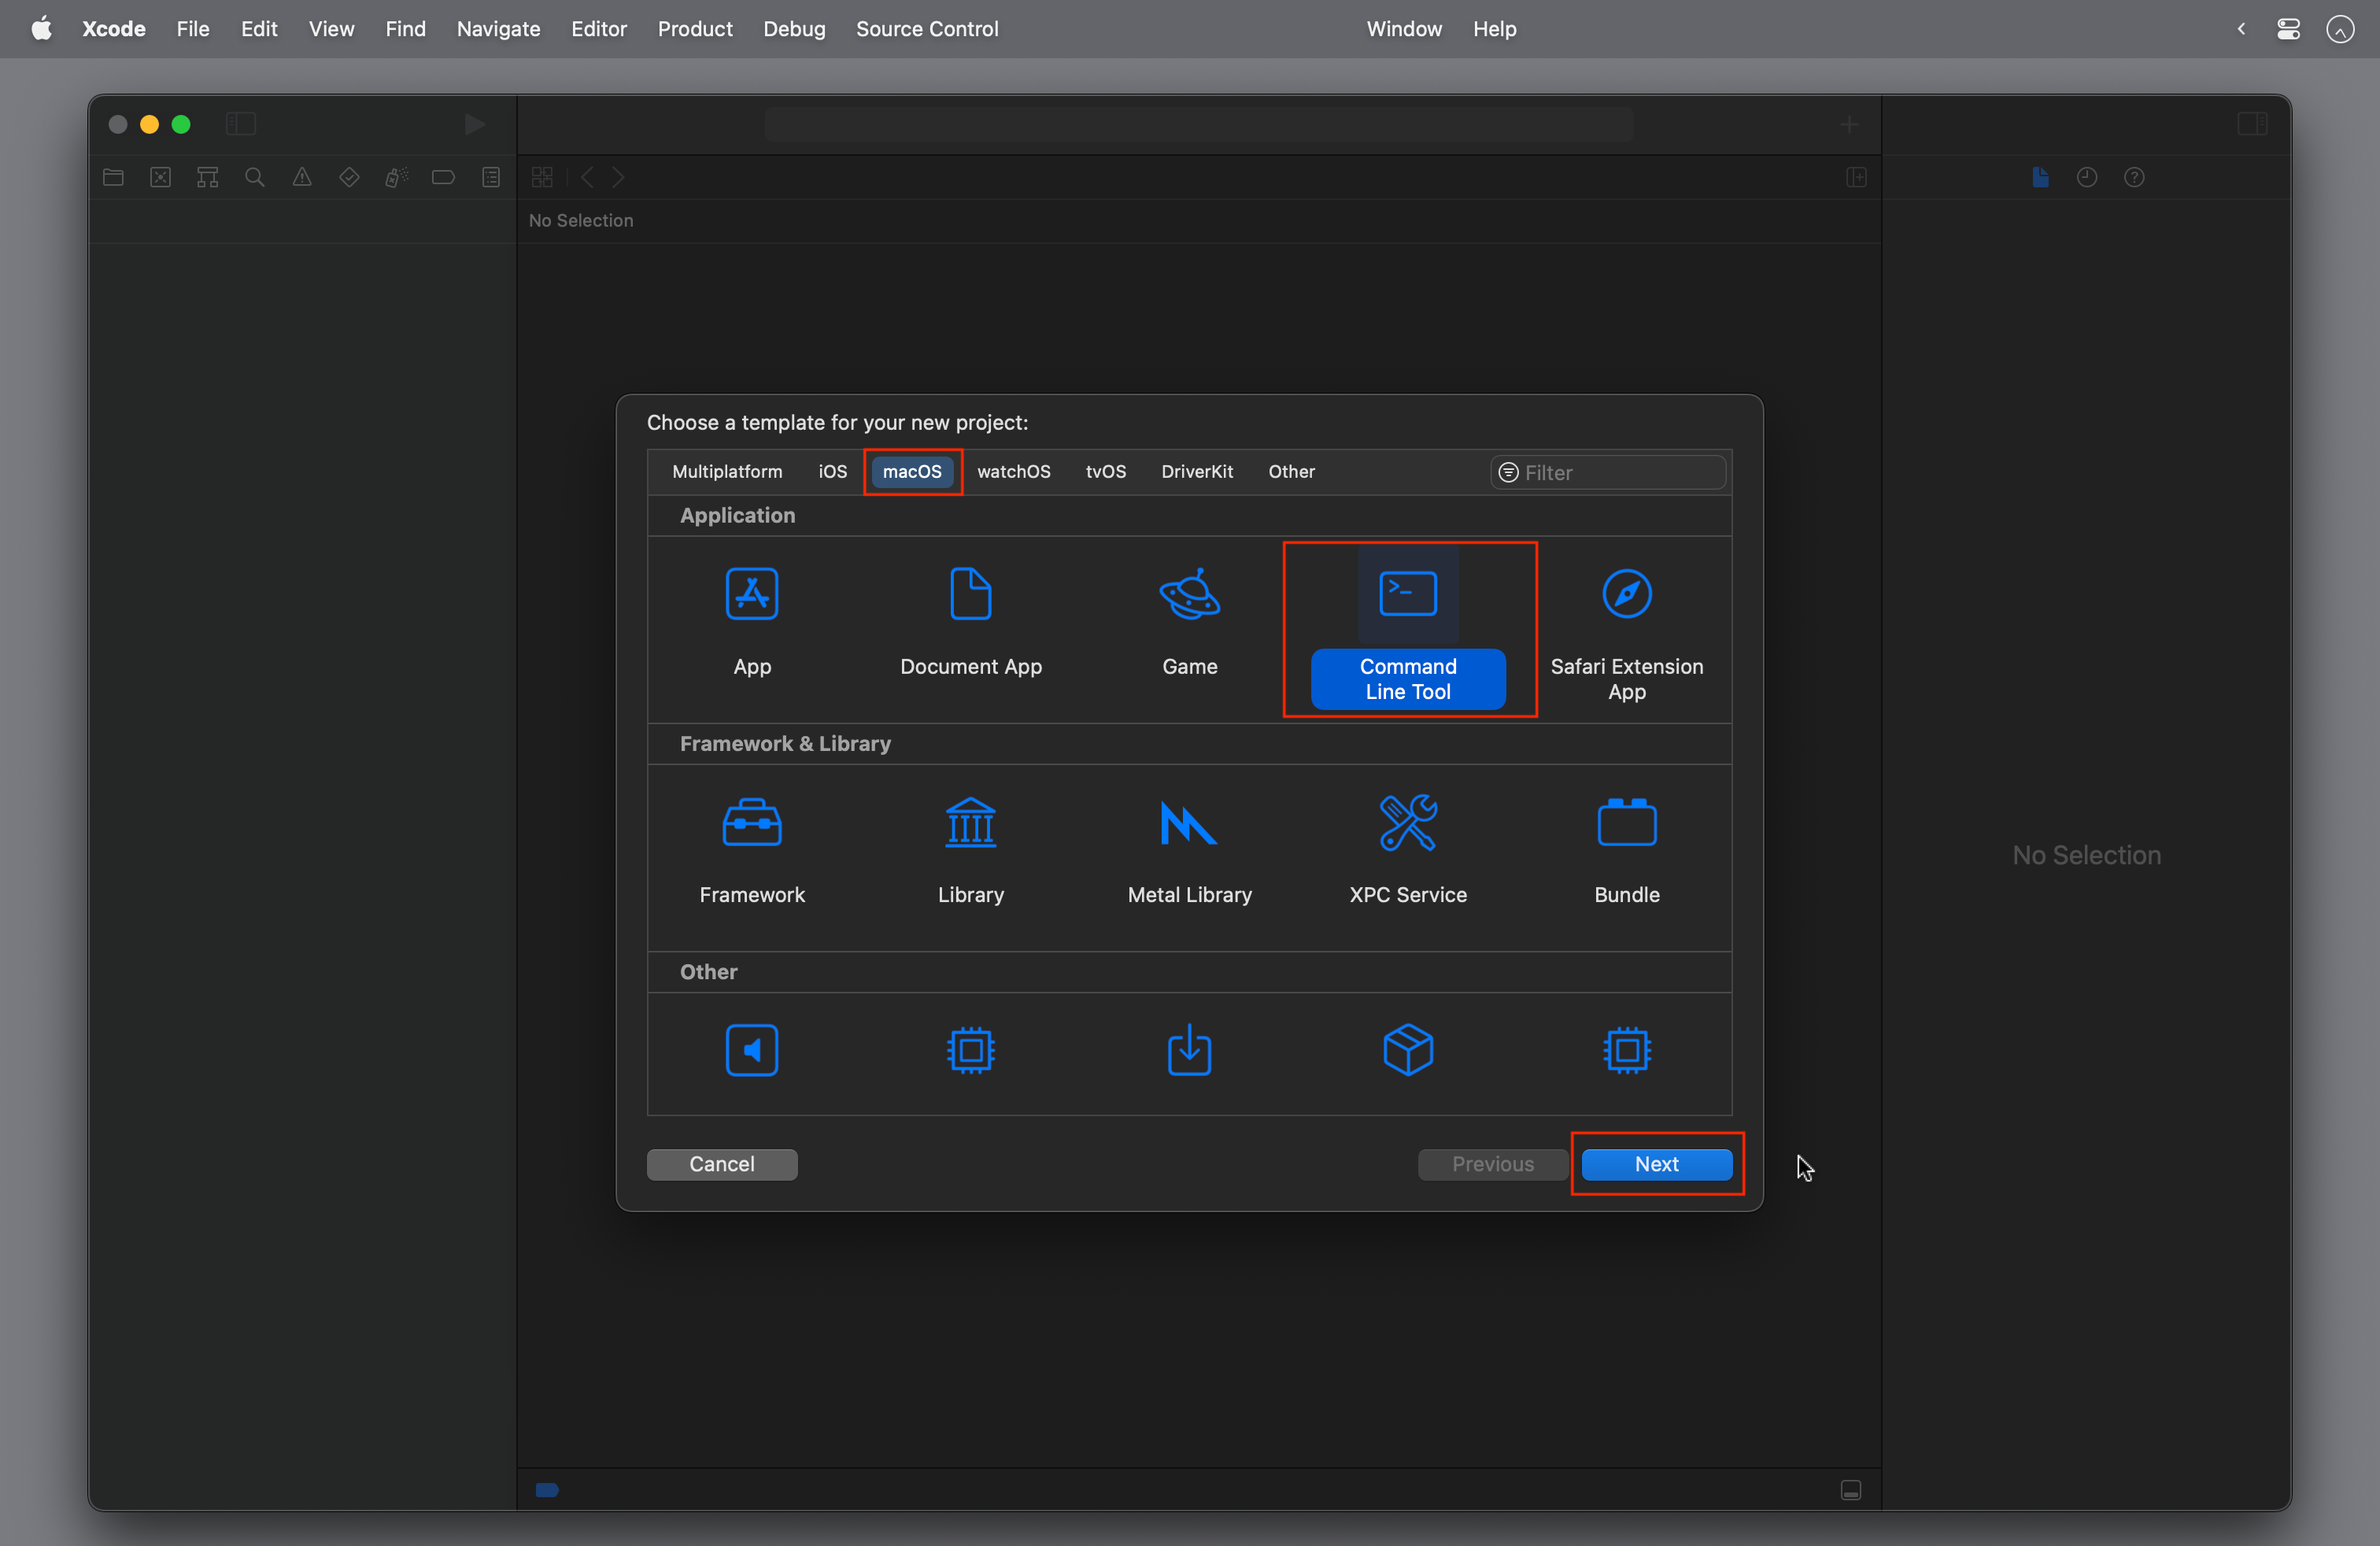
Select the macOS tab and the Command Line Tool app template, then select Next:
Provide a meaningful name, using the CapitalCase style convention, then select Next:

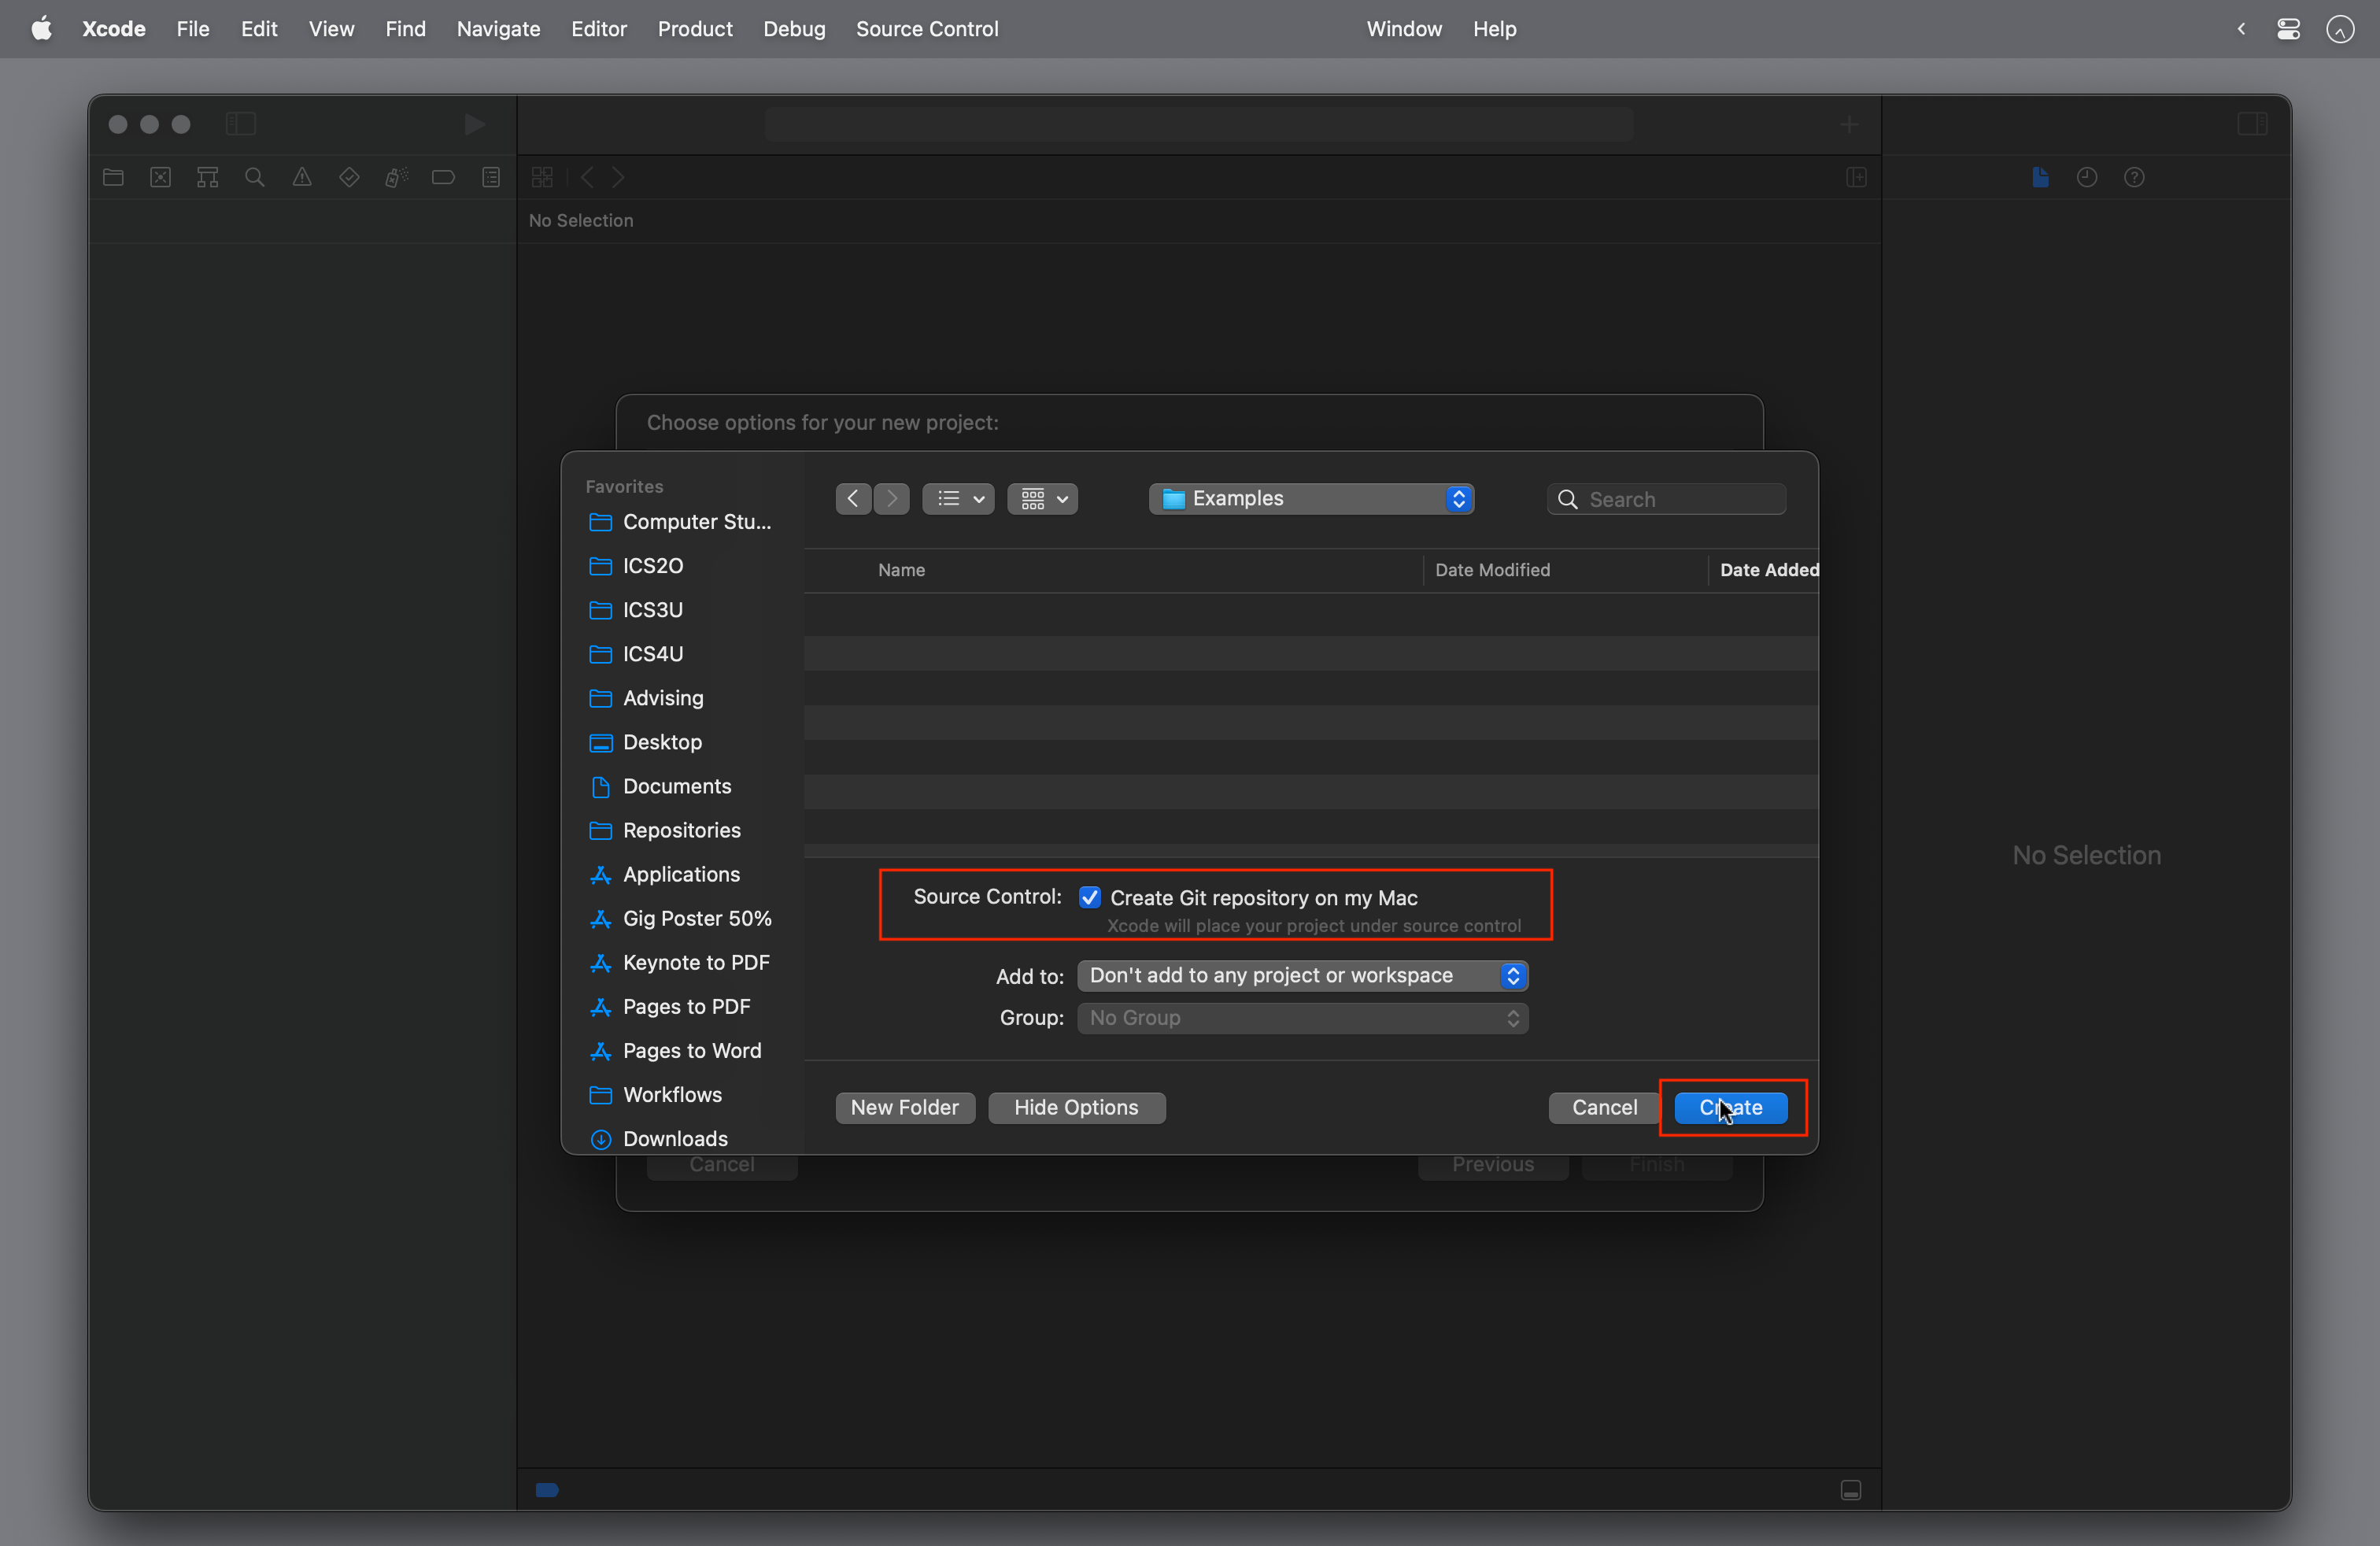
Choose a location for the project on your computer, and be sure that source control is enabled, then select Create:
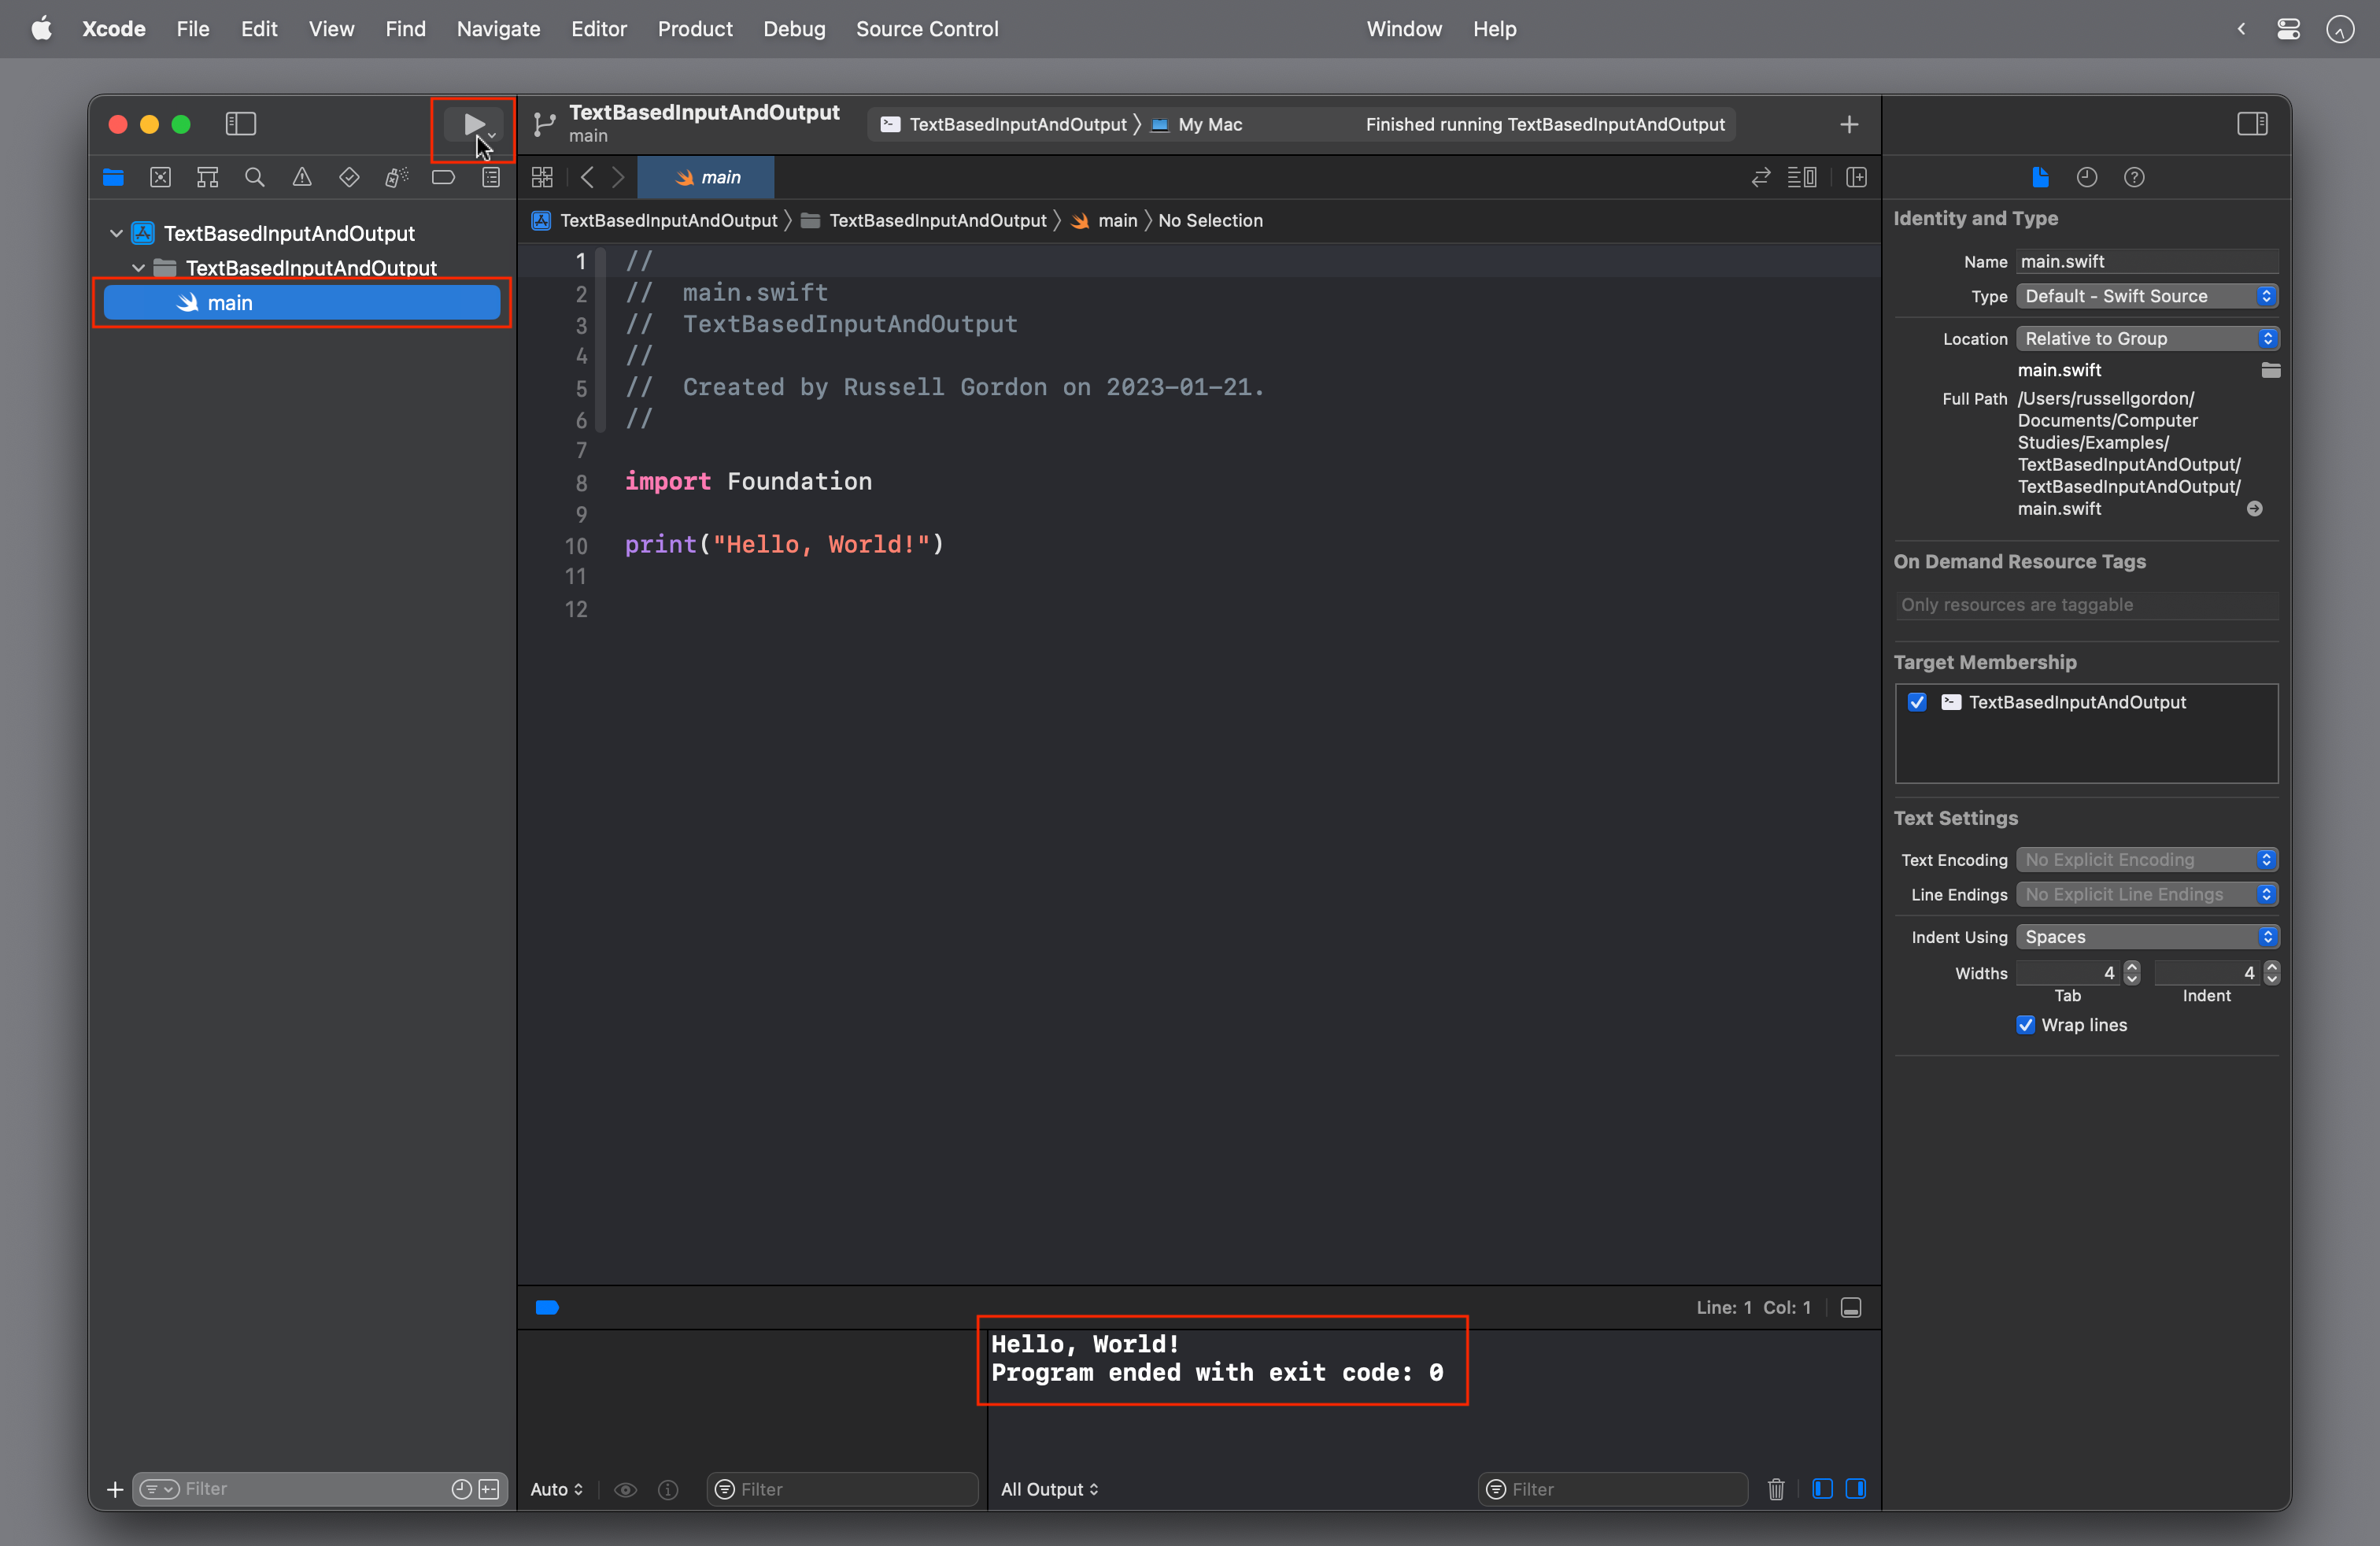
You will see something like this:
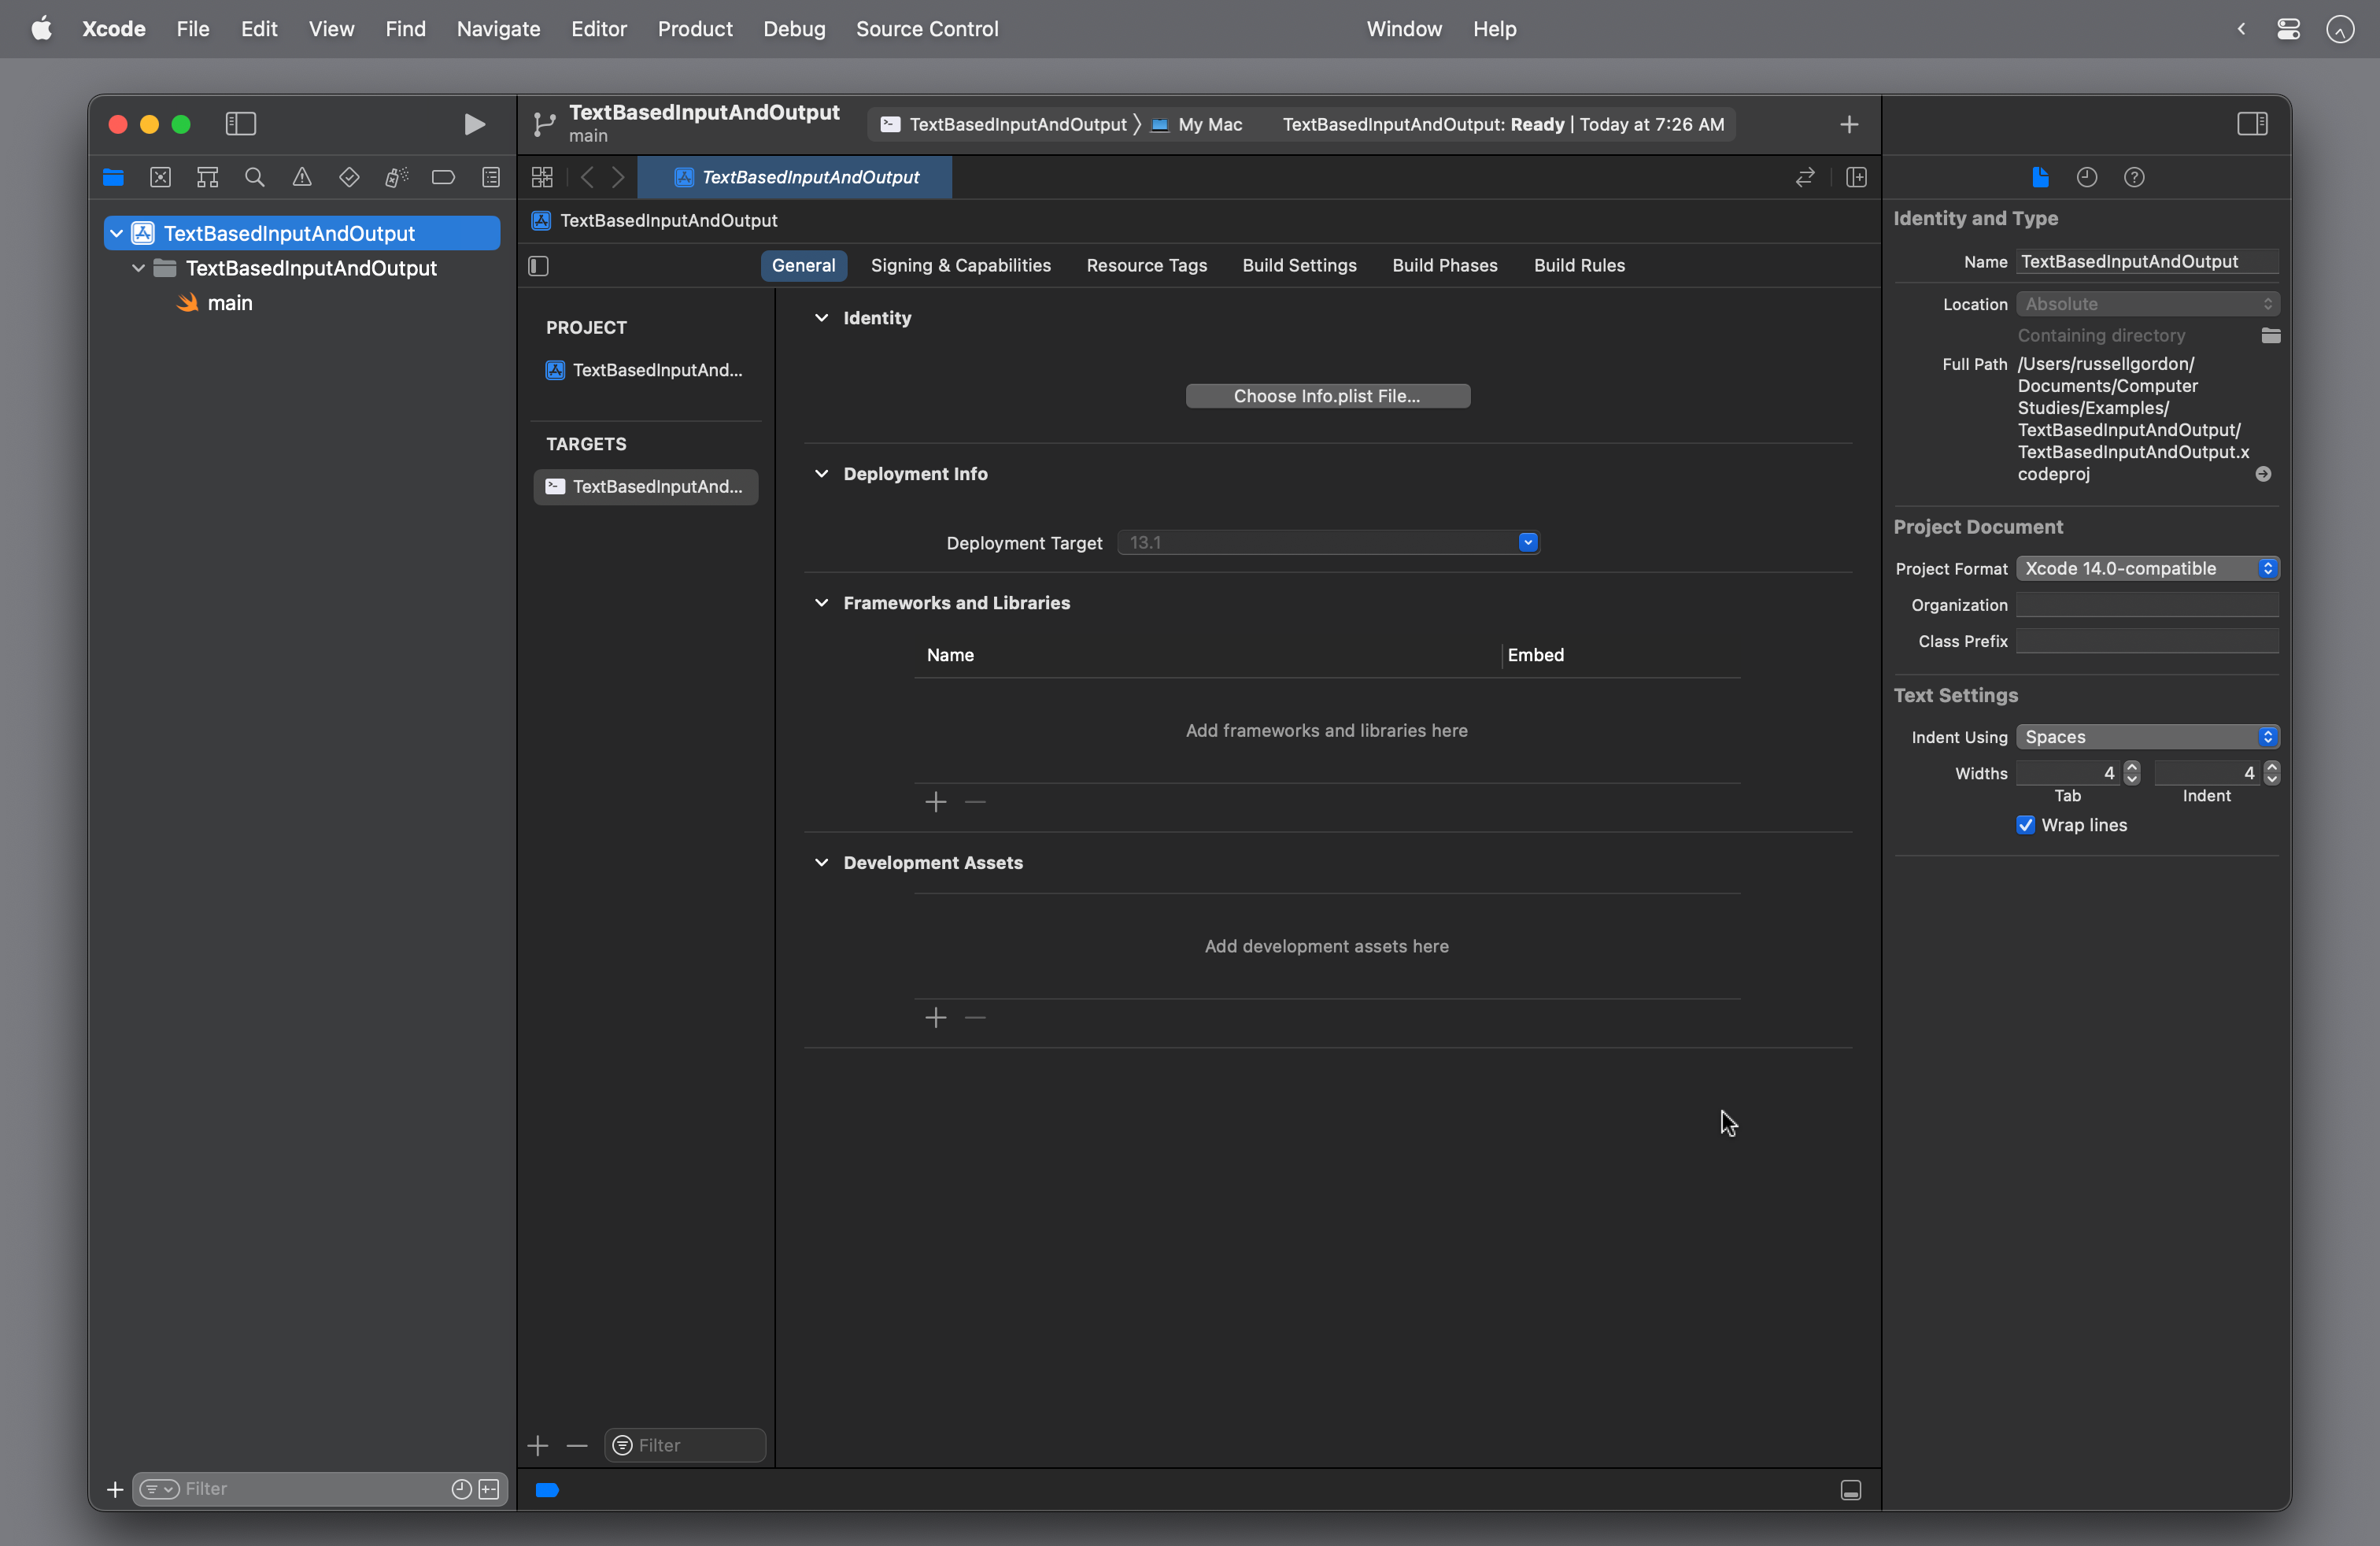
Select the main file in the Project Navigator at left.
Run your program by pressing Command-R or the ▶ button.
After a brief delay (that is longer the first time the program is run, and faster on subsequent runs) you will see program output:
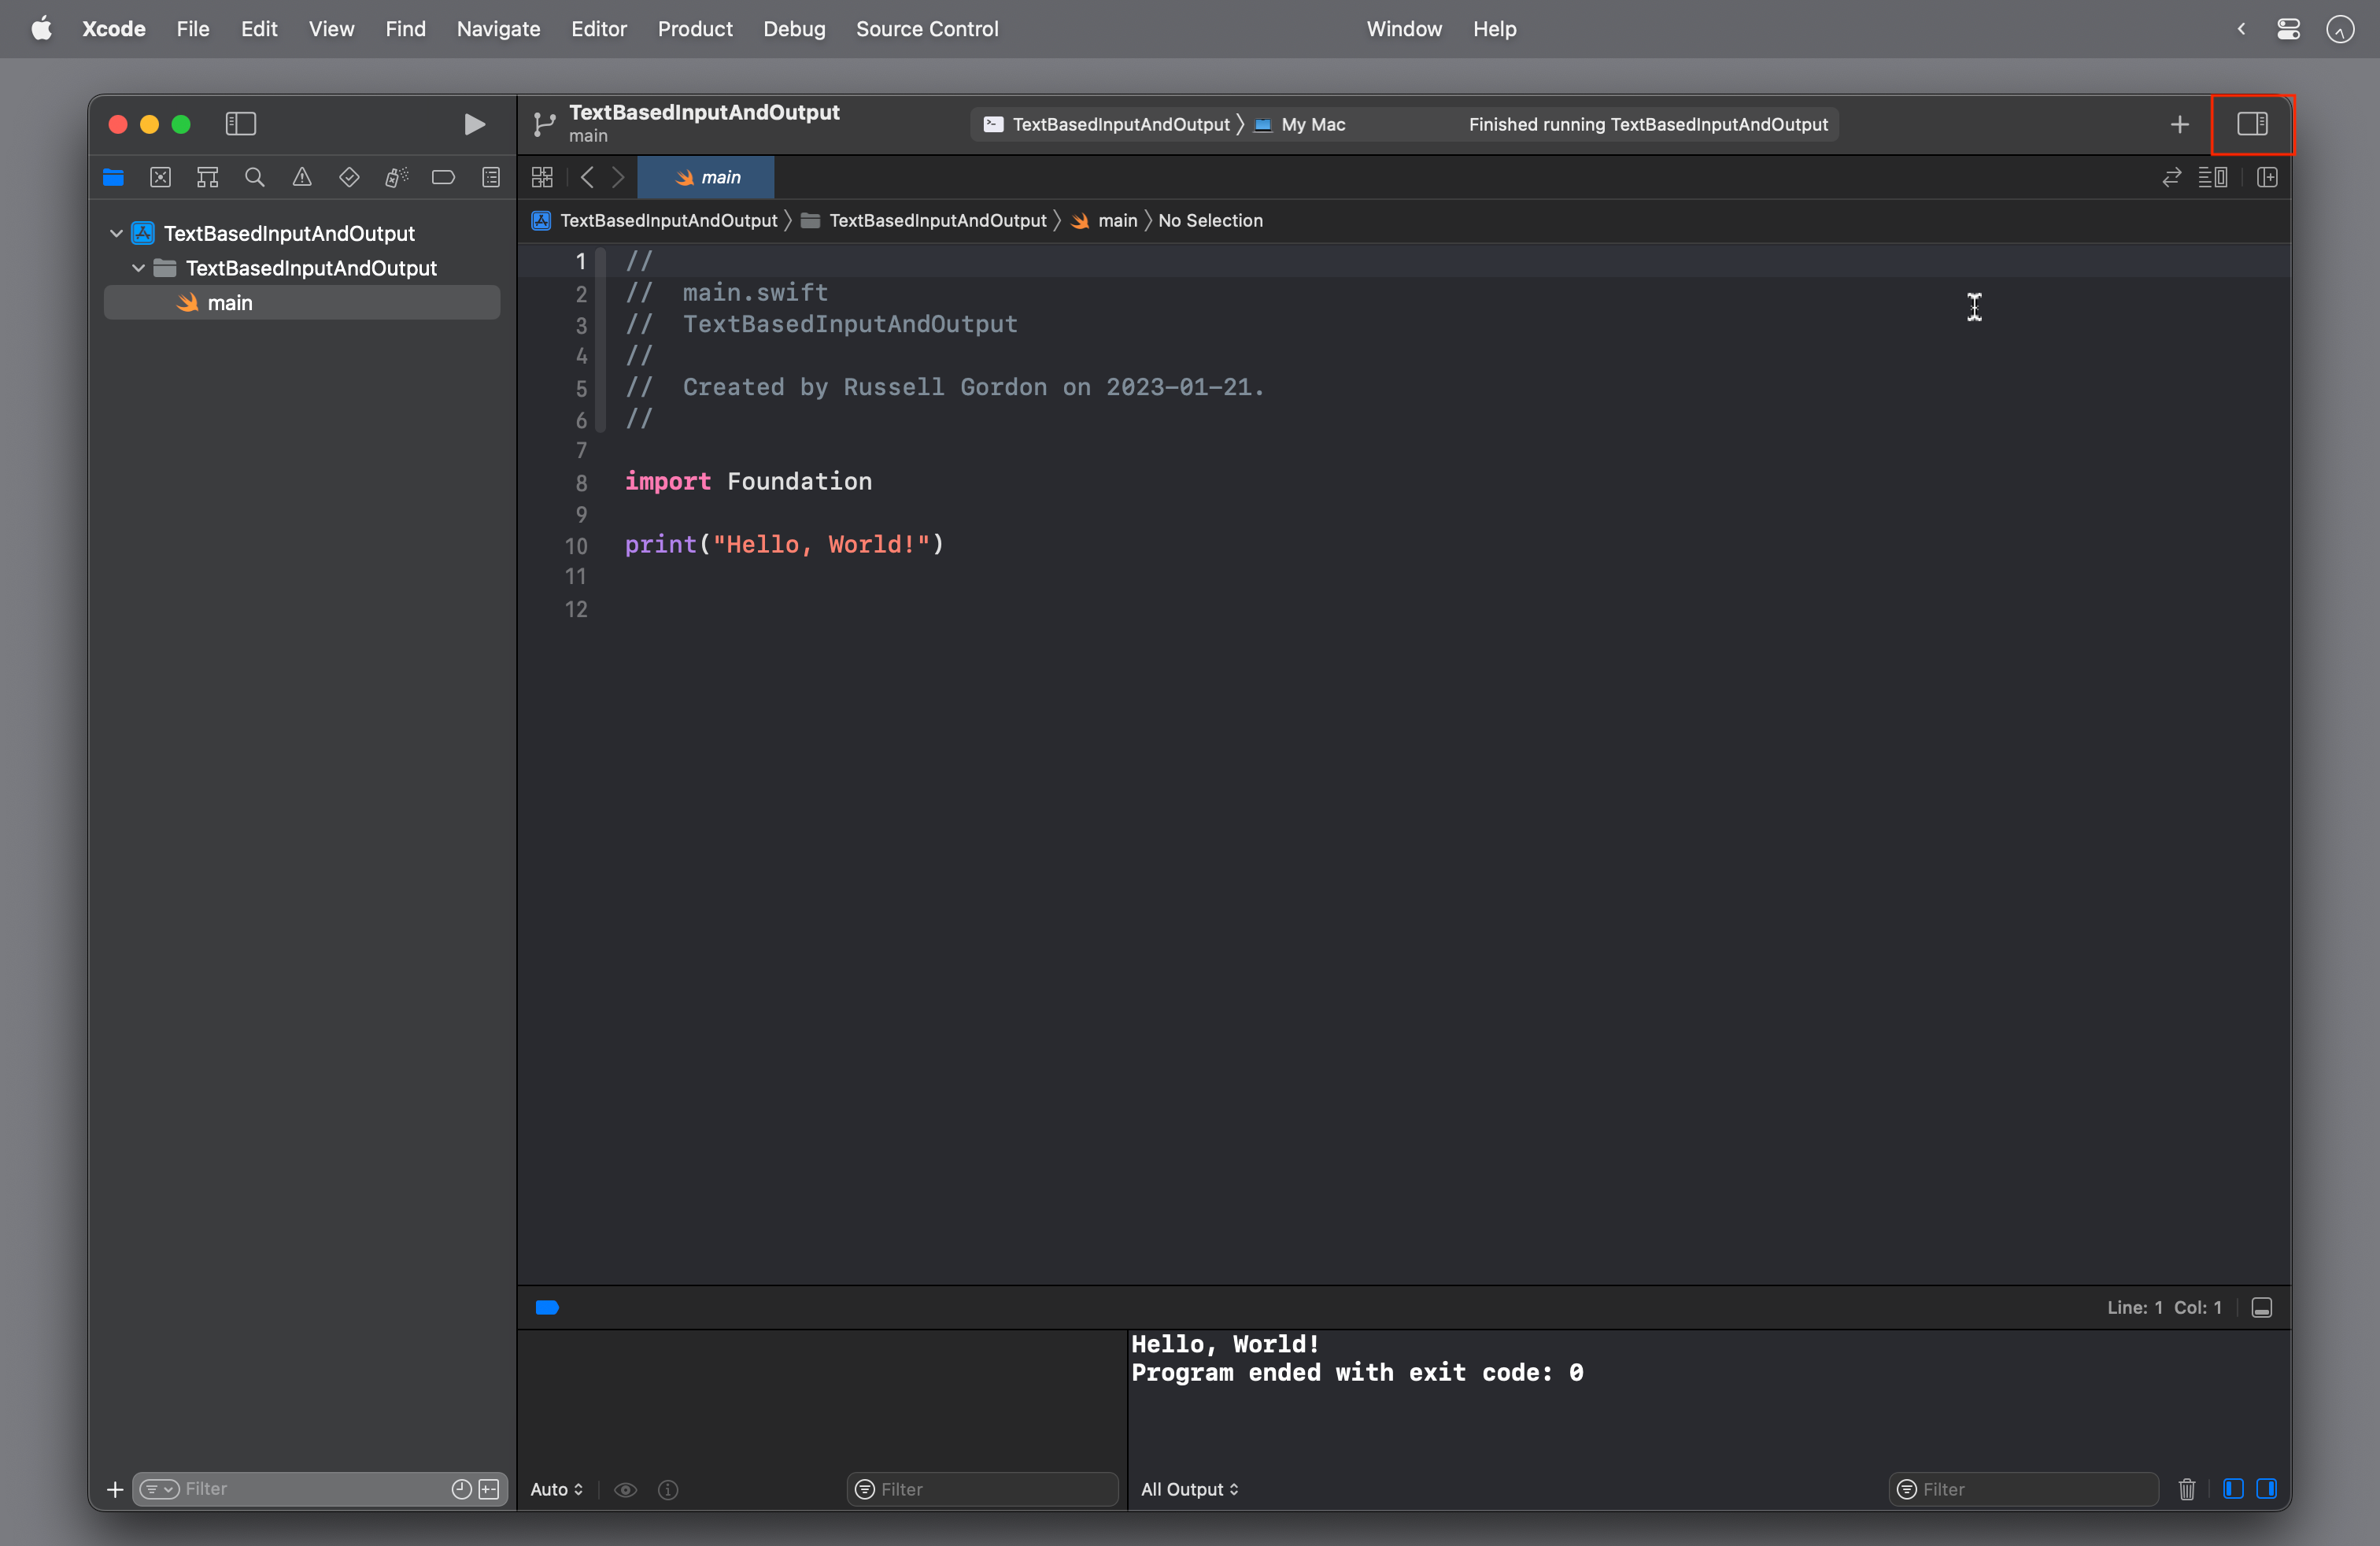
You can close the Inspector panel by pressing Option-Command-0 (that's zero) or by tapping the button:
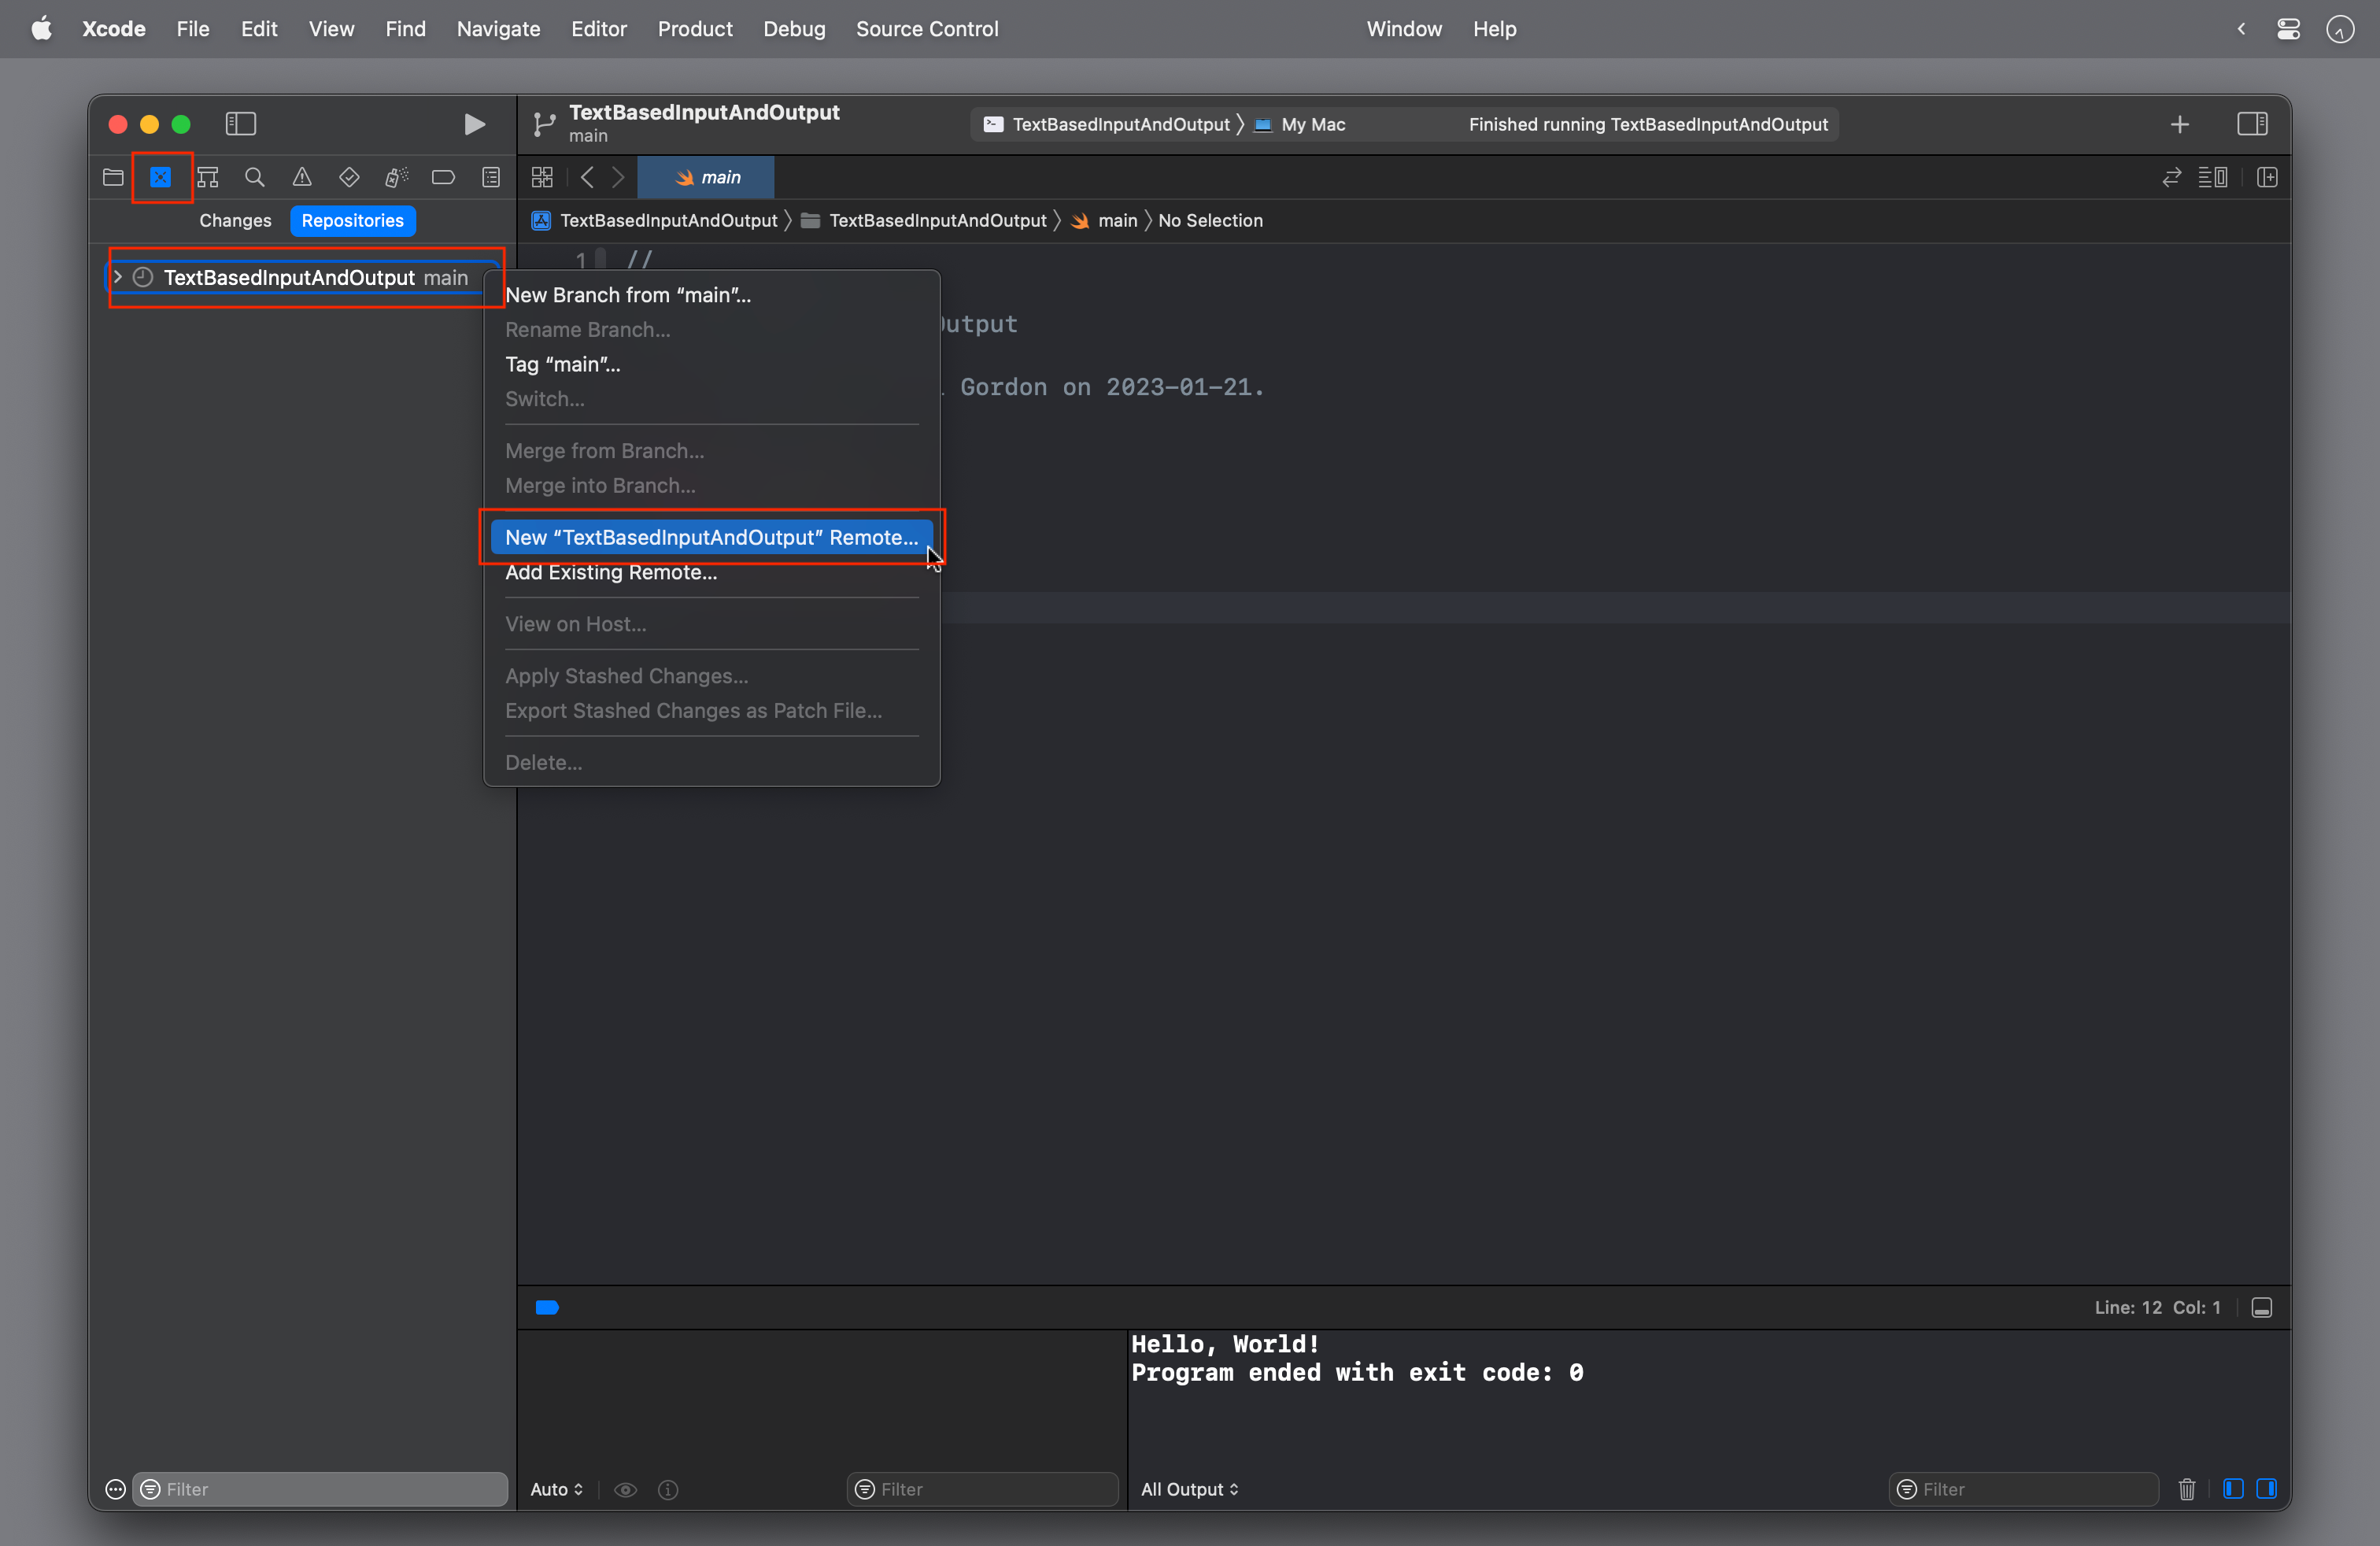
Before you continue working on your project, remember to create a remote on GitHub:
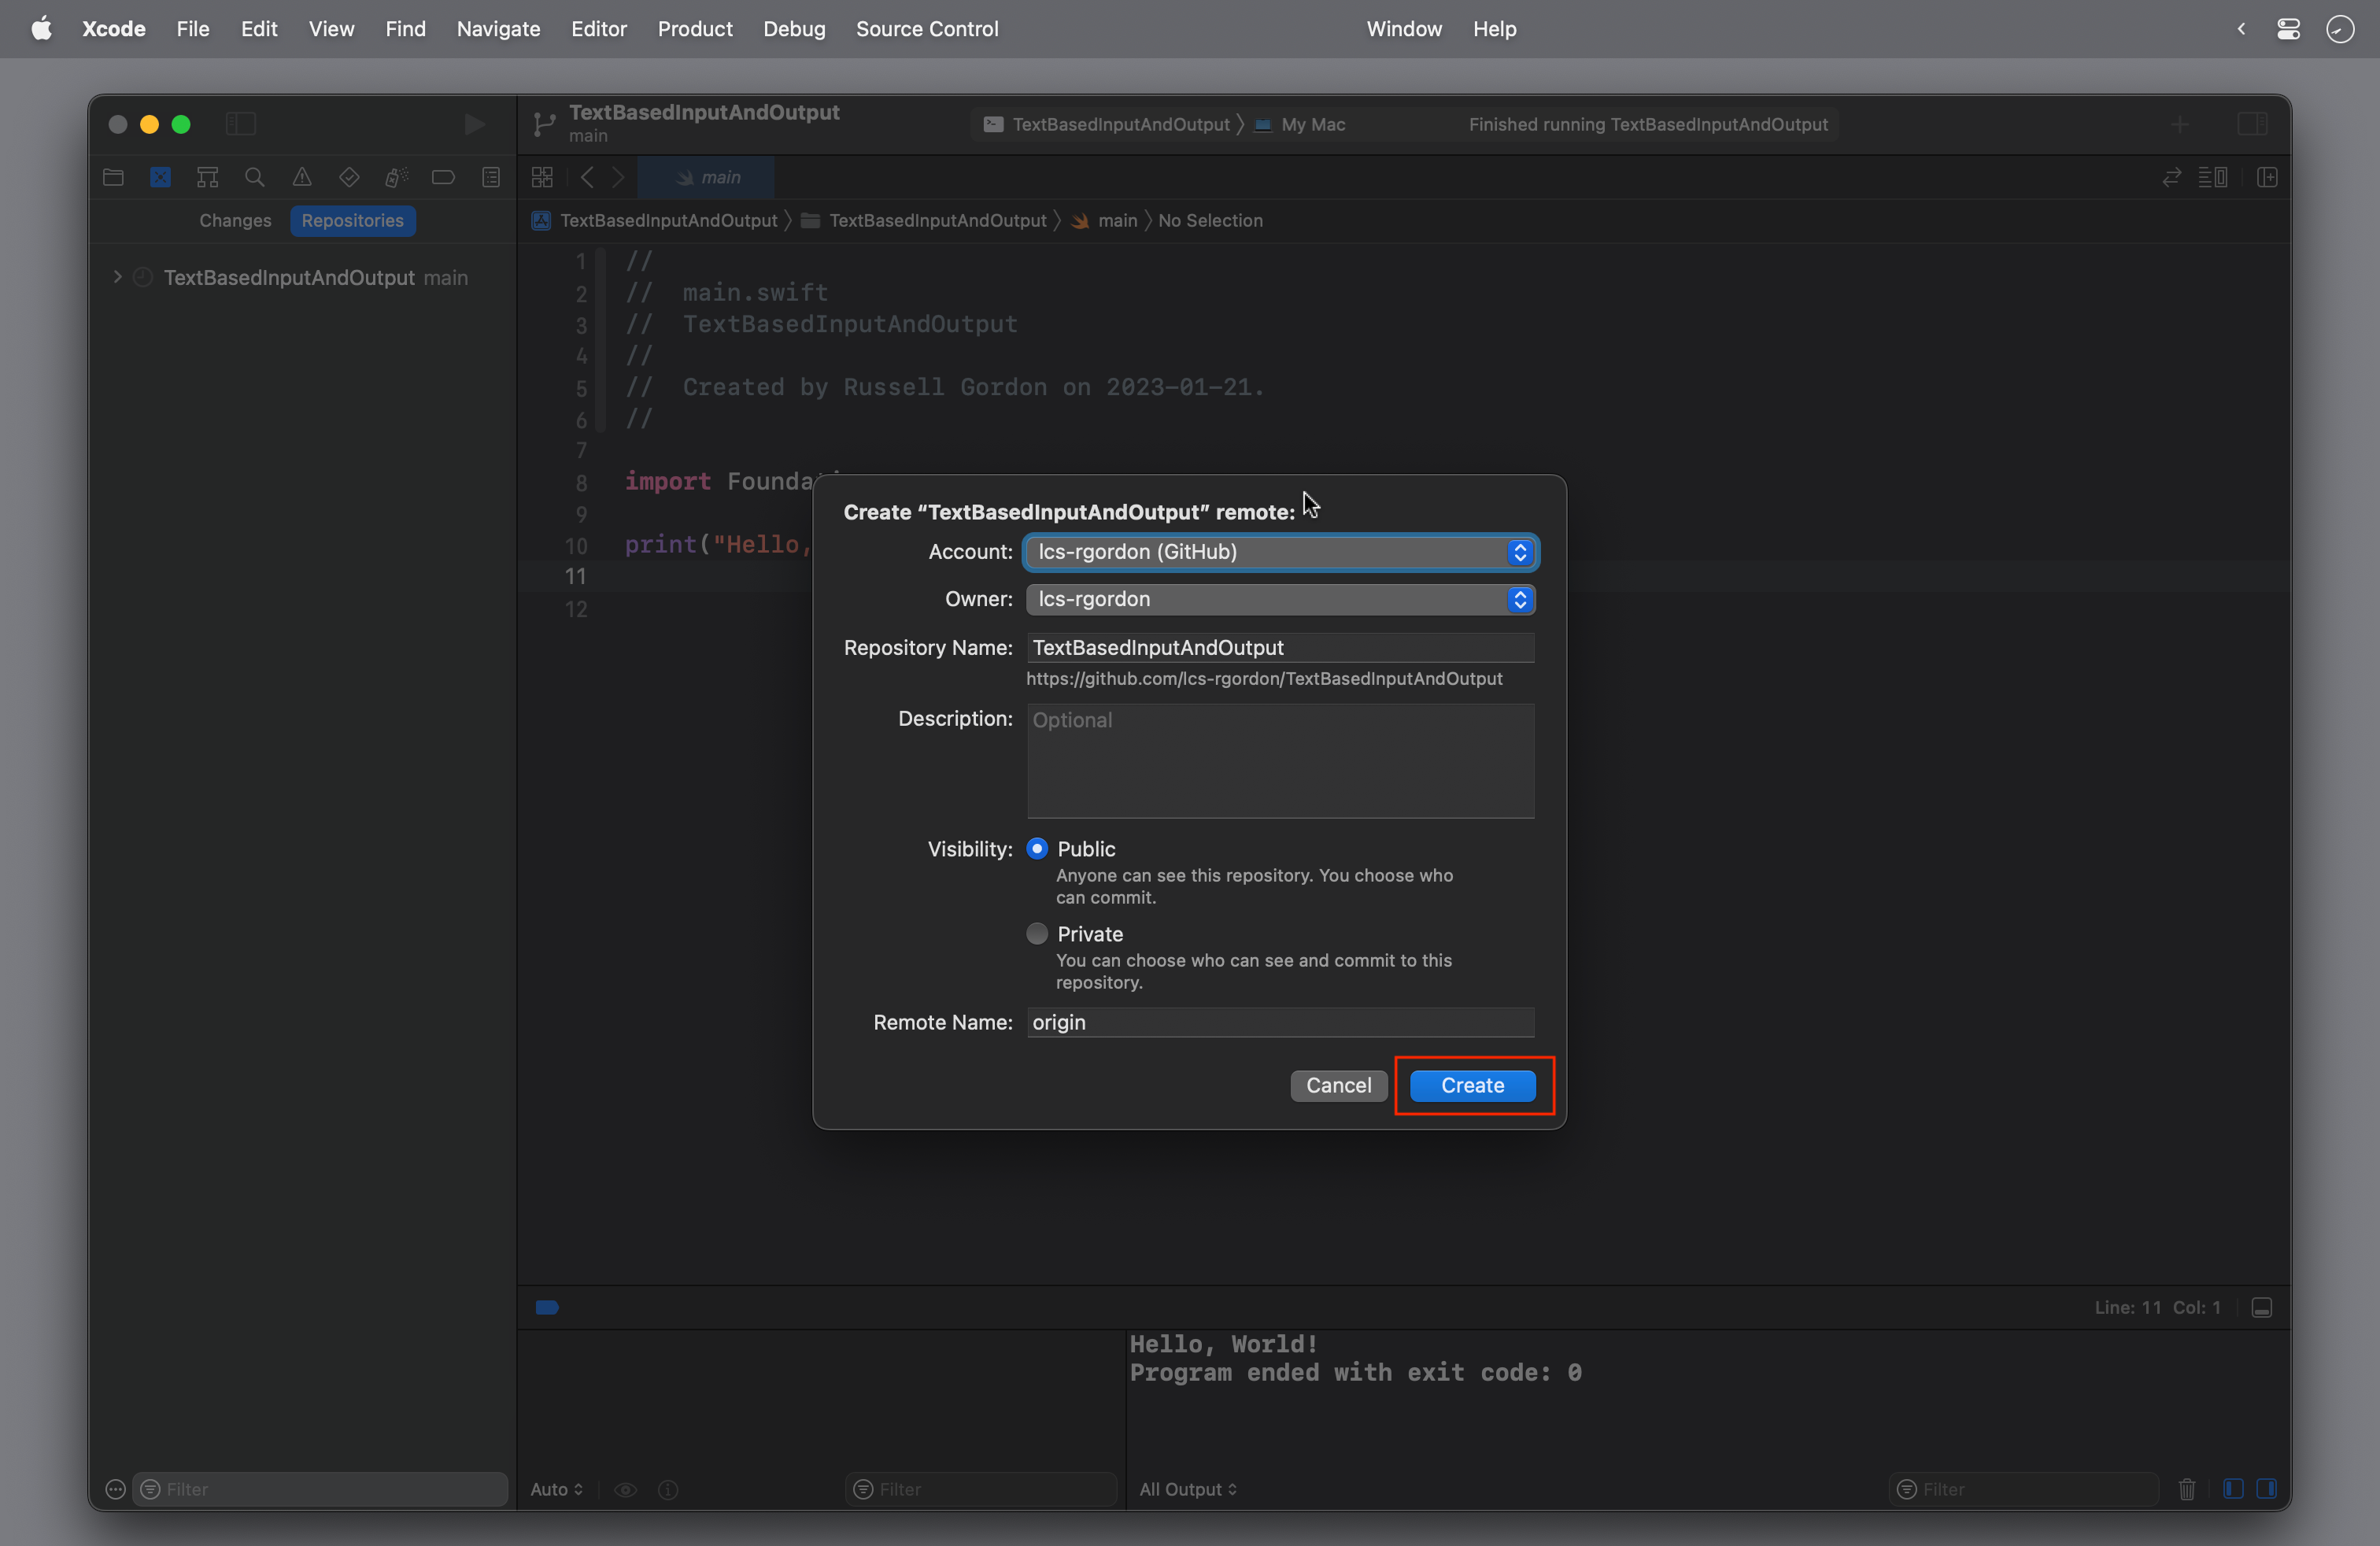
Default options when creating the remote repository will be fine – select Create:
Then remember to commit and push your work regularly.